
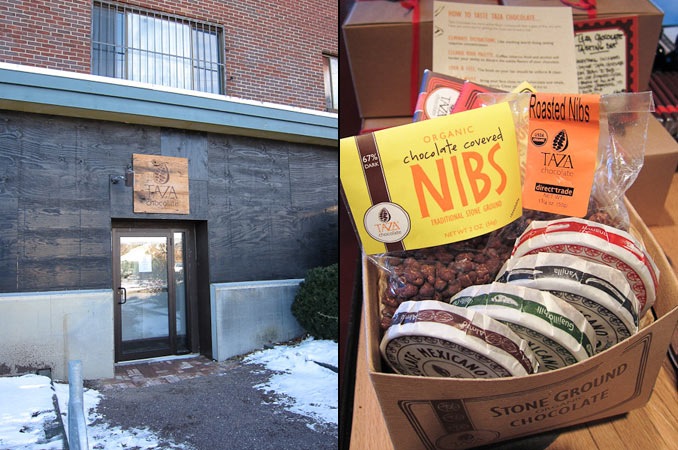
Taza turns out some great chocolate in a non-discript building, in the industrial part of Somerville. Carolyn and I checked it out them out while we were up in Massachusetts last December. They make chocolate bars and Mexican style hot chocolate discs.
Luckily for us, they had just started up a factory tour and we ended up getting two of the last tour tickets for the day.
Taza makes their chocolate directly from coco beans, right in their facility. The tour takes you through all of the manufacturing steps. They one of a few manufacturers that does bean to bar, so it is cool that you get to see the entire chocolate making process. Most of the other people start with a chocolate liquor that was refined somewhere else.
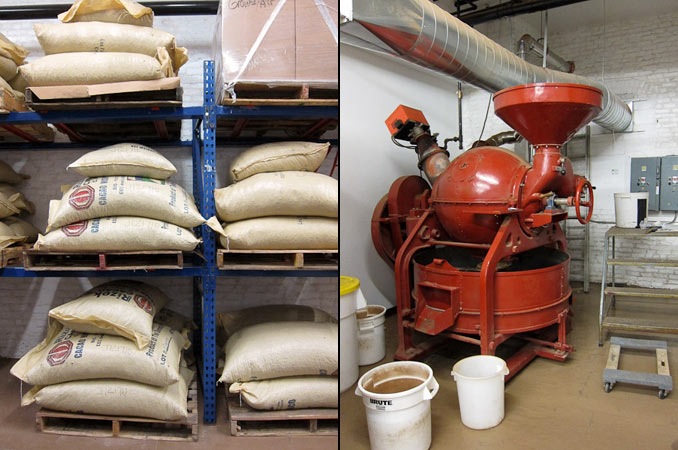
The tour, and the process, starts with bags of beans. Taza gets their beans from good sources, sustainably grown with workers paid a fair wage. Right now the beans mostly come from the Dominican.
Coco beans grow in large pods. When they are ready for harvest, they pick the pod and crack it open to get the beans from inside. The beans are then allowed to ferment for a bit and then dried. After all this, the beans are bagged up and shipped north. The beans get held in a warehouse in NJ until they are needed.
Enough about beans, back to chocolate making. The first stuff is to roast the beans. They use a large roaster, the same model that you use to roast coffee beans. Taza uses it to also roasts the nuts that goes into their chocolate.
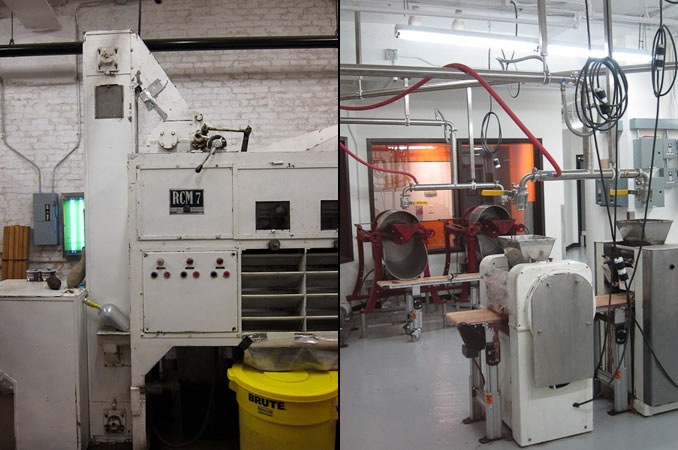
After the roasting, the beans go into a huge machine which crunches them up and uses air to blow of the shells of the bean and other non-coco stuff. The coco nibs are heavy and fall down into large cans below.
The nibs are what makes chocolate. The next step is to pulverize them, which heats up all the fat in them and turns it into a thick liquid. Taza uses granite wheels to crush up the nibs, which is the authentic Mexican style way to do it. The chocolate is added into a large vat where it gets mixed with sugar and any other flavorings that are going to be added.
In order to crush the small pieces of nibs left and smooth out the liquor, it is passed through a series of steel rollers. The chocolate used for the Hot Chocolate disks is left a little “chunkier” and not as smooth. The little bit of grit left is part of the style. For the chocolate bars, they pass the chocolate a bunch of extra times, each time moving the rollers closer together.

The chocolate for the chocolate bars is also tempered. This step helps make sure that the sugar doesn’t crystalize after the chocolate has been poured into the mold. This involves heating and cooling the mixture over a long period of time. When you get a chocolate bar and it looks like it has a white film on it, that is a sign that the chocolate has lost its tempering.
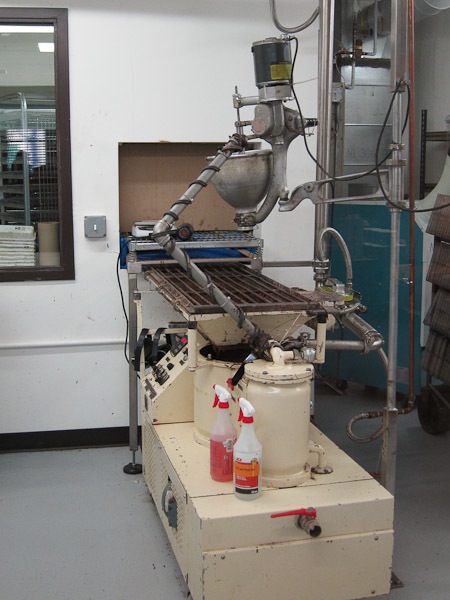
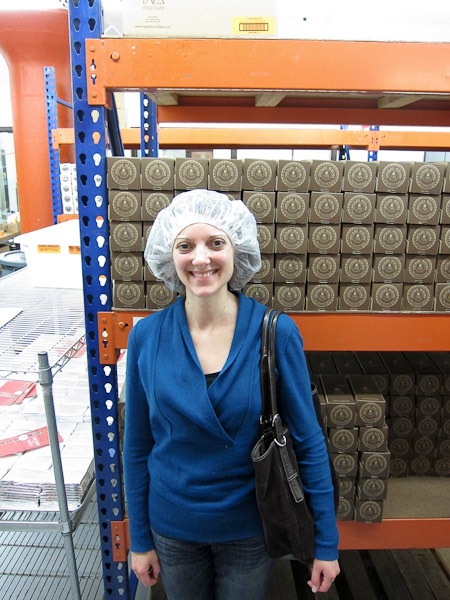
Once the chocolate liquor is ready, it is time to pour it into a mold. The molds are just plastic tray. Since the mixture is so think, they had to use a doughnut dispenser to fill the molds. The chocolate is then chilled, to let the chocolate set. Once they are good to go, the chocolate gets unmolded and wrapped.
And that is how chocolate is made!
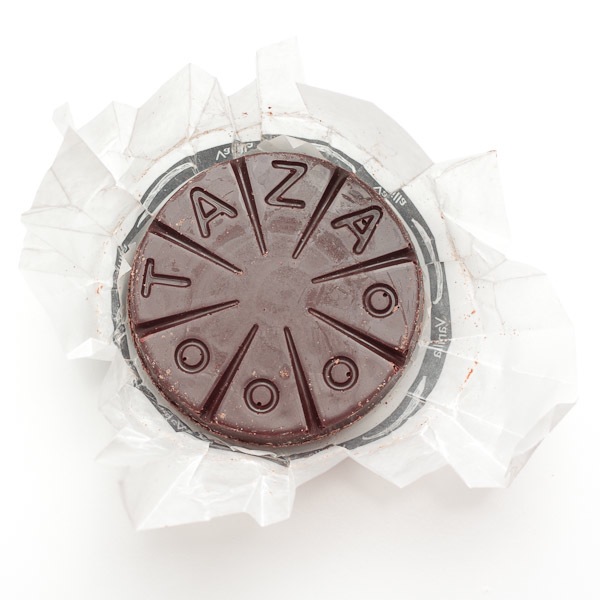
Excellent, knowledge is great and all, but it is not as good as eating chocolate. In order to make Mexican style hot chocolate you just mix some melted chocolate with warm milk. The trick is not burning the milk or chocolate in the process. They recommend grating the chocolate and then mixing it with the warmed milk.
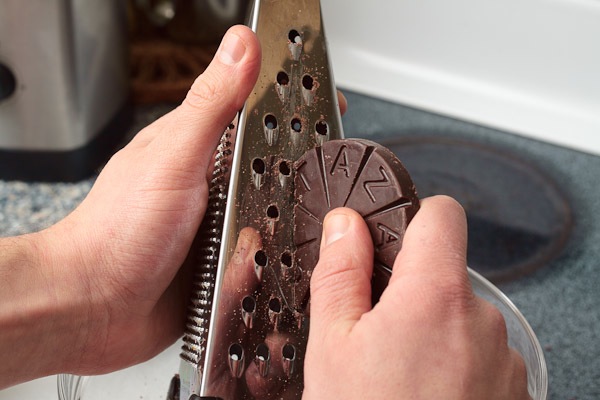
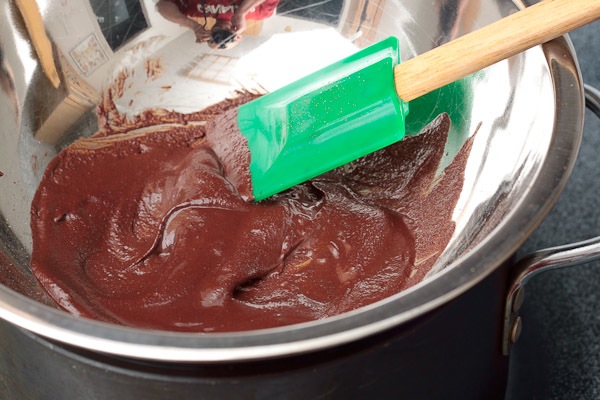
I started out giving this a try, but grating chocolate is sort of a pain. Instead, I went for the double boiler option. A double boiler is two pots, one on top of each other. The bottom pot has a bit of water in it. The water gets boiled and the steam heats up the bowl above it. Since it is heated using the steam, it can only get so hot, and the milk and chocolate don’t burn.
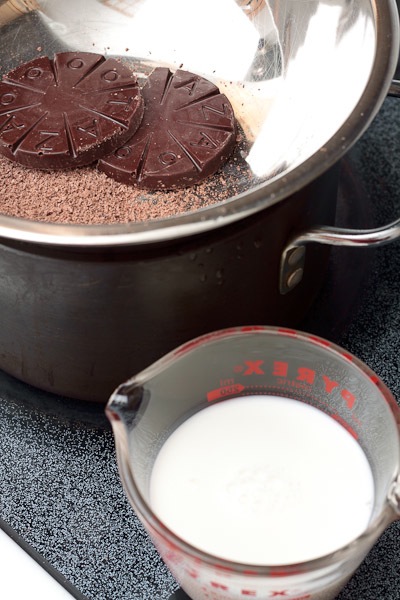
Of course, buying a specialized pot that would rarely gets used is sort of silly. Instead, simply find a metal bowl the fits over a pot you already have and use that instead. Problem solved! Expensive gear avoided!
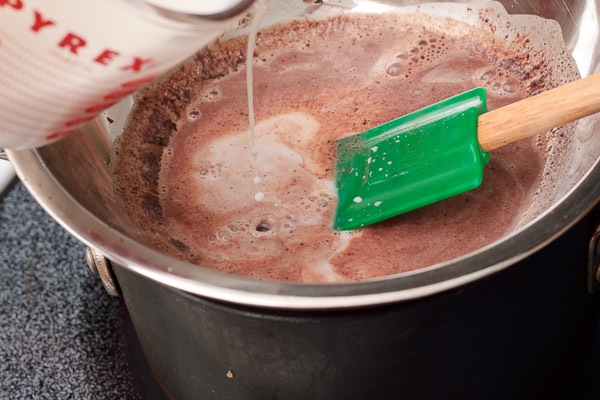
Once the chocolate has melted, start mixing in milk, a bit at the time. While this is going on, preheat the mugs. I just put a bit of water in each and microwaved them. We made two disks worth of chocolate and added about 14oz of milk. Switching up the ratio changes how thick or milky it is.
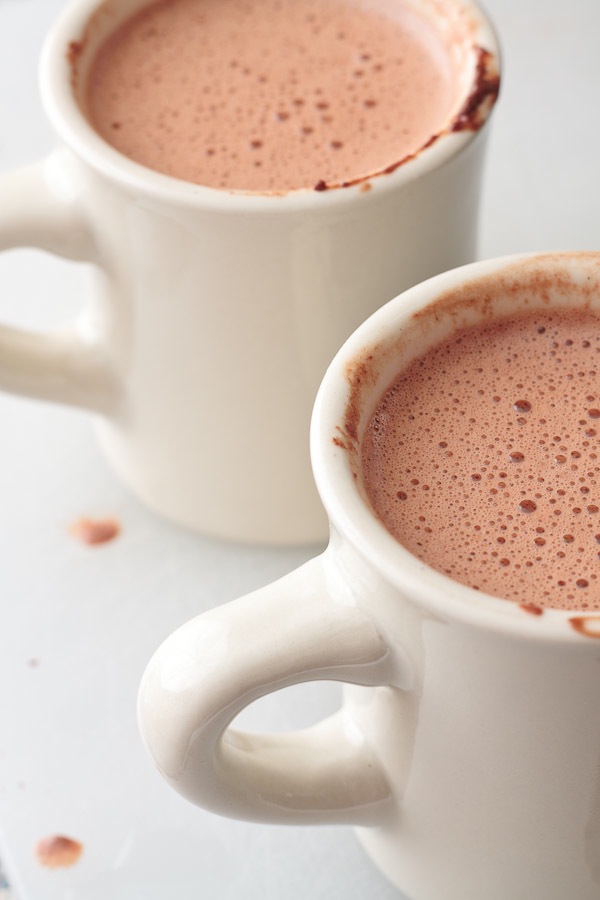
When the mixture is hot, ladle it into the warm mugs. I went the extra mile and used the little frother we have from Ikea to give it a nice foam.
So was it much better than Swiss Miss? Most definitely! It taste CHOCOLATY and not at all weak. It is a most enjoyable indulgence. It is even better after seeing how it was made, and the work and thought that goes into making the chocolate.
It was a bit of work though. If you are cold or wet, the last thing you want to do is work for 20 minutes making a pot of hot chocolate.
We use “Abuelita” from Mexico, and it’s a similar idea as the Taza. We put hot milk and about 1/3 of a disk into the blender (vitamix is awesome!) and run it for 30 seconds. Result is an excellent frothy cup of heaven. The Mexicans also have a special stirring stick/straw they use with this type of chocolate, and it achieves pretty much what the blender does, but at a slower “stir and sip” pace.
That is a great idea! We actually just got a Vita-Mix, so we will have to give it a try this weekend. I actually have some Abuelita chocolate too, so I think I will experiment with that before I try it with the expensive stuff.
That looks so yummy! I love a good cup of hot chocolate on a cold night.