Good bread takes time. There are lots of techniques and tools that can help take the labor out of making bread, but I have yet to come across a method that lets you speed up making a crusty loaf of artisan style bread. That is because it takes a while for the bacteria and enzymes to do their work and transform the flour and water into a delicious dough. Letting the dough or a pre-ferment rise overnight helps build the flavor and gives time for the yeast to slowly do their work.
The challenge is of course fitting the time good bread requires into your schedule. Just because good bread takes time, it doesn’t mean it needs to take a lot of time. The 5-Minute Artisan Bread technique is a great approach for fitting bread into you schedule. The techniques from the My Bread book also offers a great approach and I like the results a little more. I generally like to cook 2 loaves, since it doesn’t add that much extra work and once you have the oven going, you might as well. Bread freezes really well too.
Of course the challenge is fitting either of these techniques into your schedule. Both offer generally how long each step takes, but you have to do some math and planning to make it fit. This can actually be more of a pain than the actual baking. Fear not! I am going to share how I do it, so you can do it without having to think. Share your approach in the comments.
Night Before Baking
This will take about 15 minutes from start til end, including clean up.
- [ 10:00pm – 10:15pm ] Right before going to bed (which is roughly ~18 hours before you get home from work the following day), mix everything together as directed in the first step of the recipe below.
Baking Evening
This will take about 3 hours for a single loaf, 4 hours to cook two loafs.
- [ 6:00 – 6:20pm ] Right when you will get home from work, shape your loaves as directed in the second step (Takes 20 min, including cleanup)
- [ 7:20pm ] Roughly an hour after you have finished shaping the loaves, begin preheating the oven & dutch oven.
- [ 7:50 – 8:50pm ] Bake the bread as directed
- [ 8:50 – 9:00pm ] Return the pot & lid to the oven to get nice and hot again, if you are baking a second loaf
- [ 9:00 – 10:00pm ] Bake the second loaf
- [ 10:00pm – ] Leave both loaves sitting out over night to cool
AFTER WORK ARTISAN BREAD
Ingredients:
- 3 cups (400 grams) Bread Flour
- 1 1/4 teaspoons (8 grams) Table Salt
- 1/4 teaspoon (1 gram) instant or other active dry yeast
- 1 1/3 cups (300 grams) cool water (55 to 65 degrees F)
- Wheat bran, cornmeal, or additional flour for dusting
Directions:
The night before baking
- In a medium bowl, stir together the flour, salt, and yeast. Add the water and, using a wooden spoon or your hand, mix until you have a wet, sticky dough, about 30 seconds. Mae sure it’s really sticky to the touch; if it’s not, mix in another tablespoon or two of water. Cover the bowl with a plate, tea towel, or plastic wrap and let sit at room temperature (about 72 degrees F), out of direct sunlight, until the surface is dotted with bubbles and the dough is more than doubled in size. This will take a minimum of 12 hours and (my preference) up to 18 hours. This slow rise – fermentation – is the key to flavor.
Evening of Baking
- When the first fermentation is complete, generously dust a work surface (a wooden or plastic cutting board is fine) with flour. Use a bowl scraper or rubber spatula to scrape the dough onto the board in one piece. When you begin to pull the dough away from the bowl, it will cling in long, thin strands (this is the developed gluten), and it will be quite loose and sticky – do not add more flour. Use lightly floured hands or a bowl scraper or spatula to lift the edges of the dough in toward the center. Nudge and tuck in the edges of the dough to make it round.
- Place a cotton or linen tea towel (not terry cloth, which tends to stick and may leave lint in the dough) or a large cloth napkin on your work surface and generously dust the cloth with wheat bran, cornmeal, or flour. Use your hands or a bowl scraper or wooden spatula to gently lift the dough onto the towel, so it is seam side down. If the dough is tacky, dust the top lightly with wheat bran, cornmeal, or flour. Fold the ends of the towel loosely over the dough to cover it and place it in a warm, draft-free spot to rise for 1 to 2 hours. The dough is ready when it is almost doubled. If you gently poke it with your finger, making an indentation about 1/4 inch deep, it should hold the impression. If it doesn’t, let it rise for another 15 minutes.
- Half an hour before the end of the second rise, preheat the oven to 475 degrees F, with a rack in the lower third position, and place a covered 4 1/2 to 5 1/2 quart heavy pot in the center of the rack.
- Using pot holders, carefully remove the preheated pot from the oven and uncover it. Unfold the tea towel, lightly dust the dough with flour or bran, lift up the dough, either on the towel or in your hand, and quickly but gently invert it into the pot, seam side up. (Be carefully, the pot will be very hot) Cover the pot and bake for 30 minutes.
- Remove the lid and continue baking until the bread is a deep chestnut color but not burnt, 15 to 30 minutes more. Use a heatproof spatula or pot holders to carefully lift the bread out of the pot and place it on a rack to cool thoroughly. Don’t slice or tar into it until has cooled, which usually takes an hour.
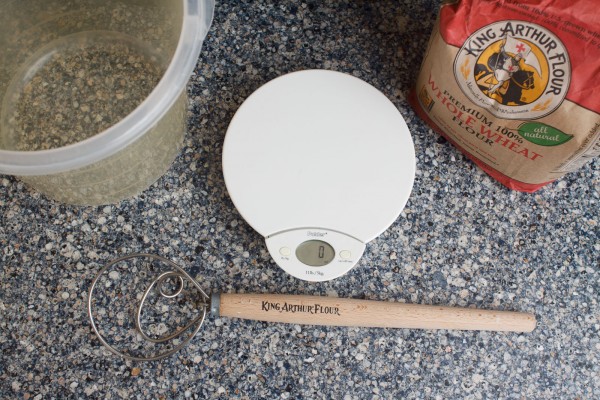
These tools will make your life easier
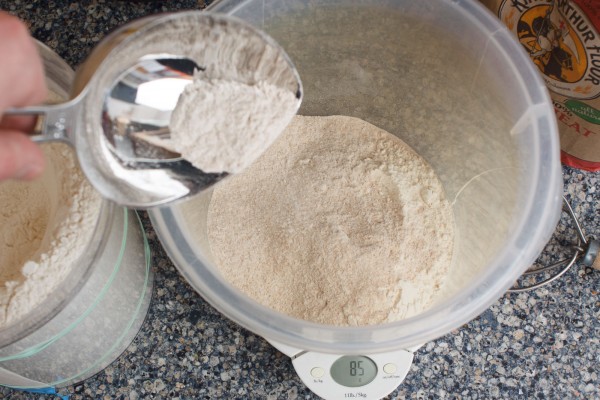
Measuring ingredients by weight makes is much quicker because you can take big scoops and then just go slow at the end to get the precise amount
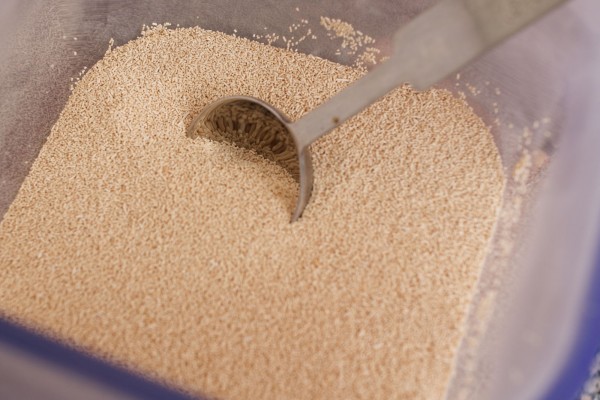
I bought a large 1lb bag of yeast from King Aurthur for $6 and store it in the freezer
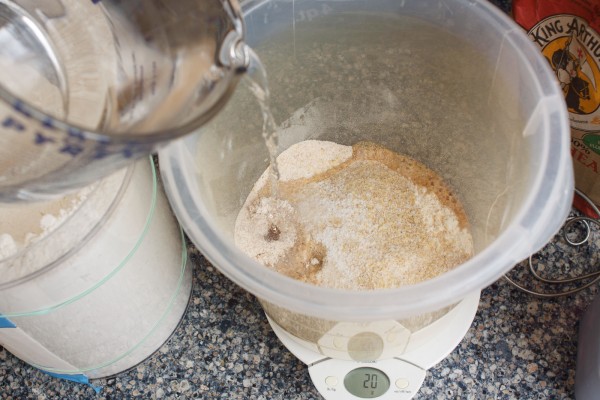
It is easy to measure water using a scale. For water, 1 fluid ounce weights 1 ounce. So 1 cup weighs 8 ounces.
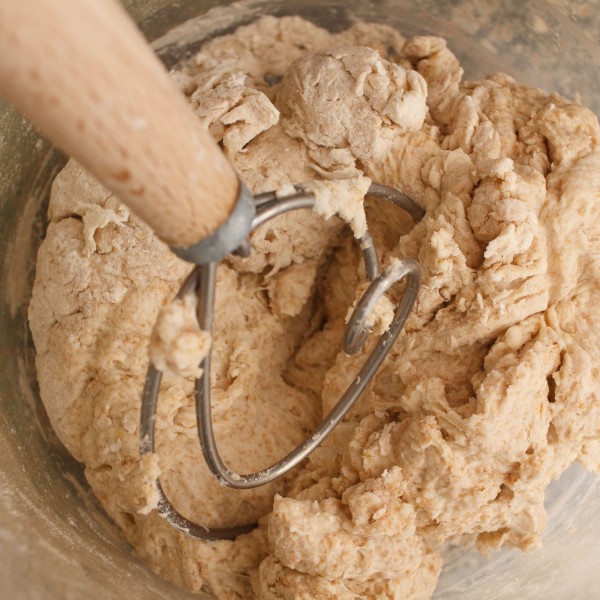
This dough hook mixes everything easily and cleans up quick. I also mix right in the plastic storage containers I let the dough rise in
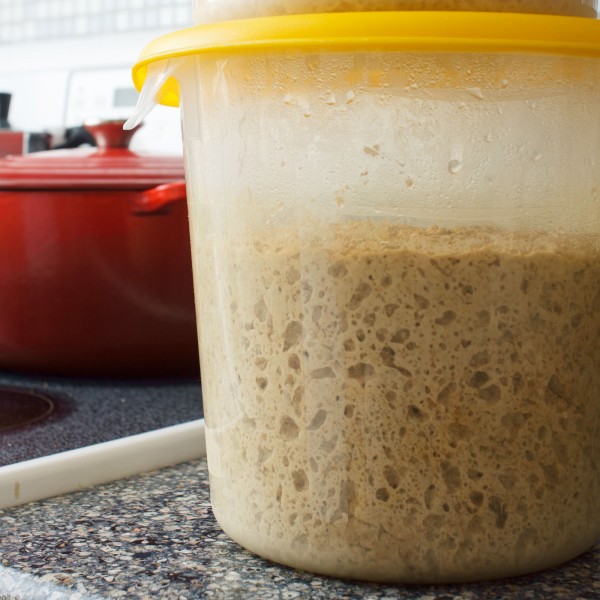
After the first rise, the dough should have lots of nice bubbles and pockets
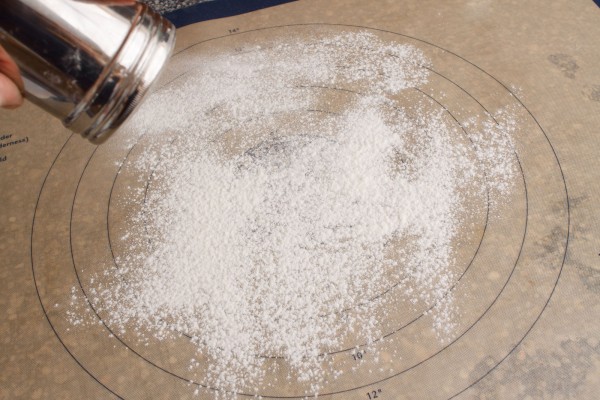
A shaker makes it easy to put down an even layer of flour and a mat makes it easy to clean up afterwards
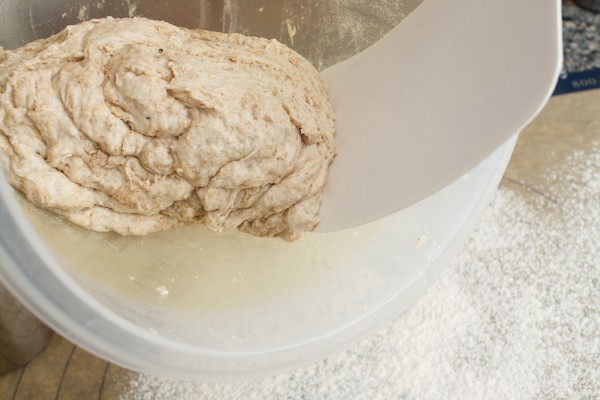
The dough will be a little sticky, so a plastic bench scrape is great for getting it out
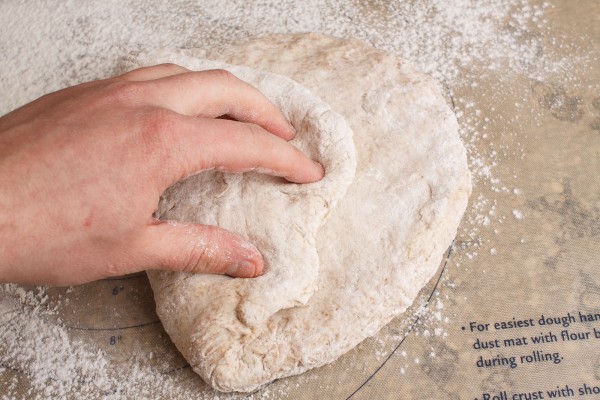
Flatten the dough into a disc and then fold one side into the middle
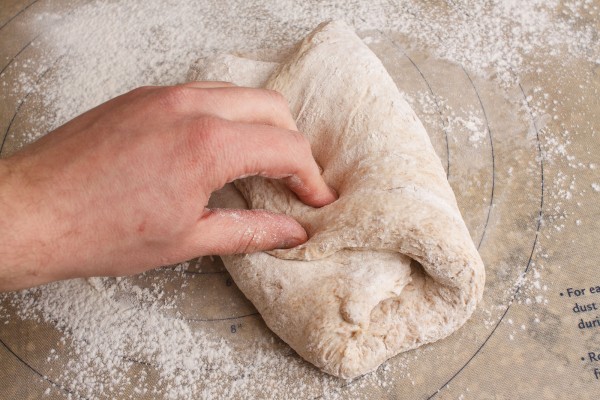
Repeat with all of the other sides, bringing them into the middle
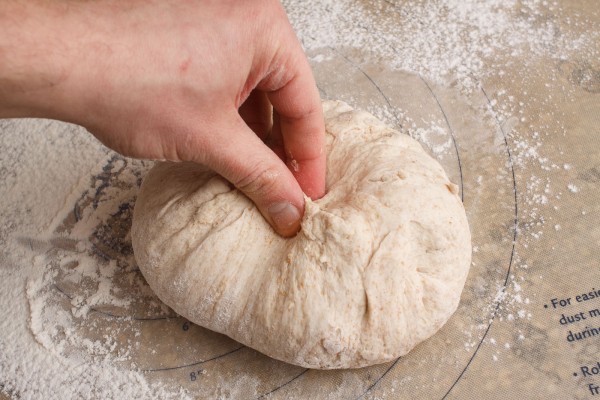
Form a ball by bringing the edges together and pressing them together to form a seam
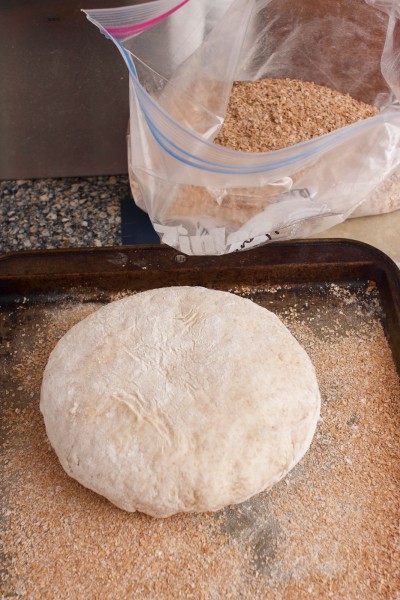
Flour the dough and place it seam side down on some wheat bran or cornmeal and cover with a floured cloth
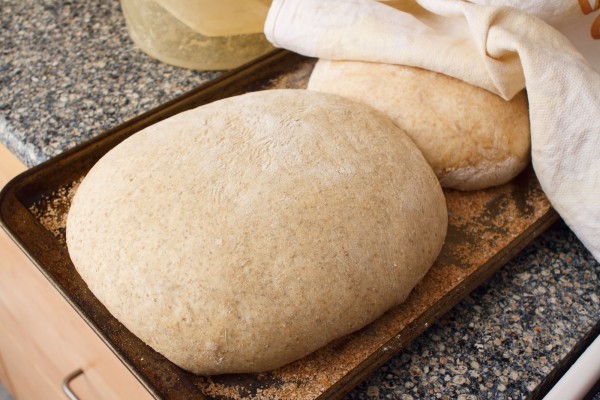
After rising it should be nice, big and ready for baking
If you let the bread rise on a cookie sheet (as shown) how do you turn it over (to get seam side up) when you put it in the pot (oven)? I have enough trouble getting it into the pot from a linen towel.
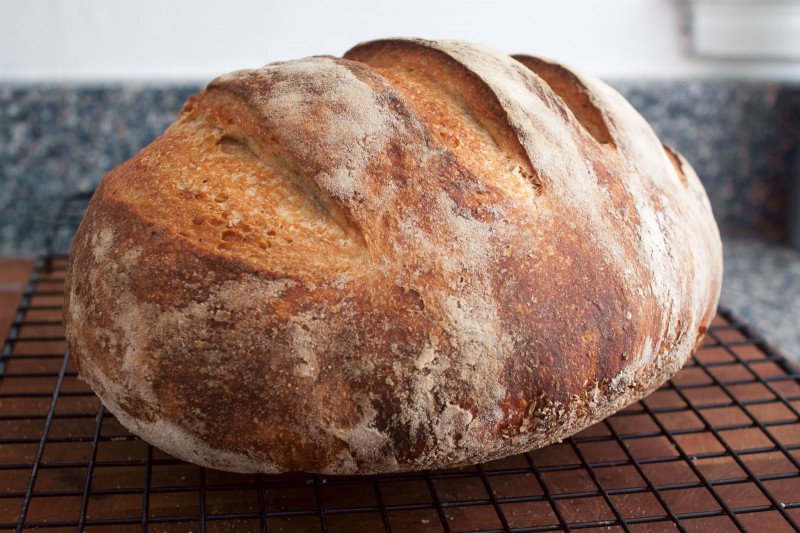
This looks like a great way to create artisan loaves. Is the image of the final loaf at the top one of the ones you created this way? I ask because it’s scored on the top, and the instructions seem to indicate putting the loaf in the dutch oven “top” side down with the seam up. Also, the recipe says to use bread flour but in the pictures you seem to be using whole wheat flour. Did you mix the two, or did you just use whole wheat?
thank you.
Great questions! I actually baked the bread a little differently. I used a pizza stone and flower pot to create a little clay oven. It help keep the humidity, similar to a dutch oven, but it is easier because you can just slide the bread off a pizza peel or cookie sheet: http://www.cookography.com/2010/no-knead-bread-baked-in-a-flower-pot
About the flour, I have a small note on that at the end of article, but I should probably move that up. You can substitute up to 3/4 a cup of rye or whole wheat for the bread flour.